RACE FORMAT

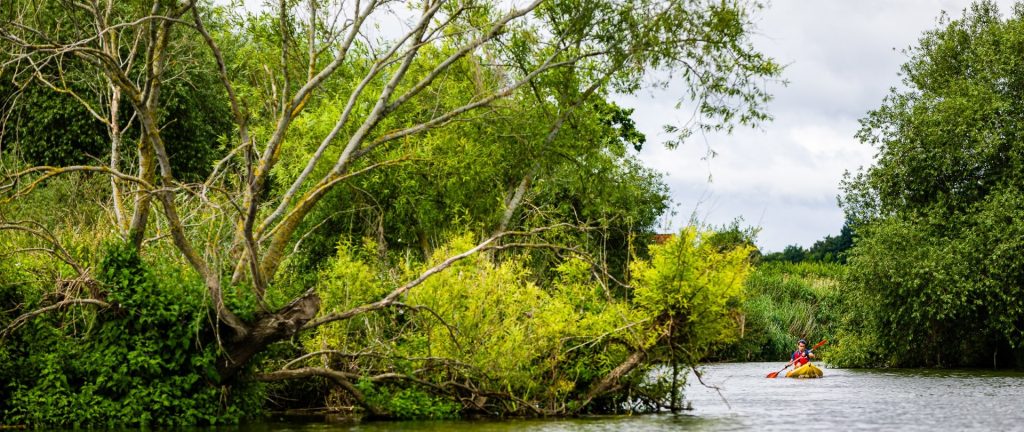
Questars adventure races follow a score course format, we give you a map with all of the checkpoints pre-marked and the challenge is to collect as many points as possible within the time limit. The person with the most points at the end wins!
There are separate checkpoints for each discipline. Within each discipline, you can visit as many checkpoints as you wish, and in any order (unless specified otherwise).
COURSE MAPS
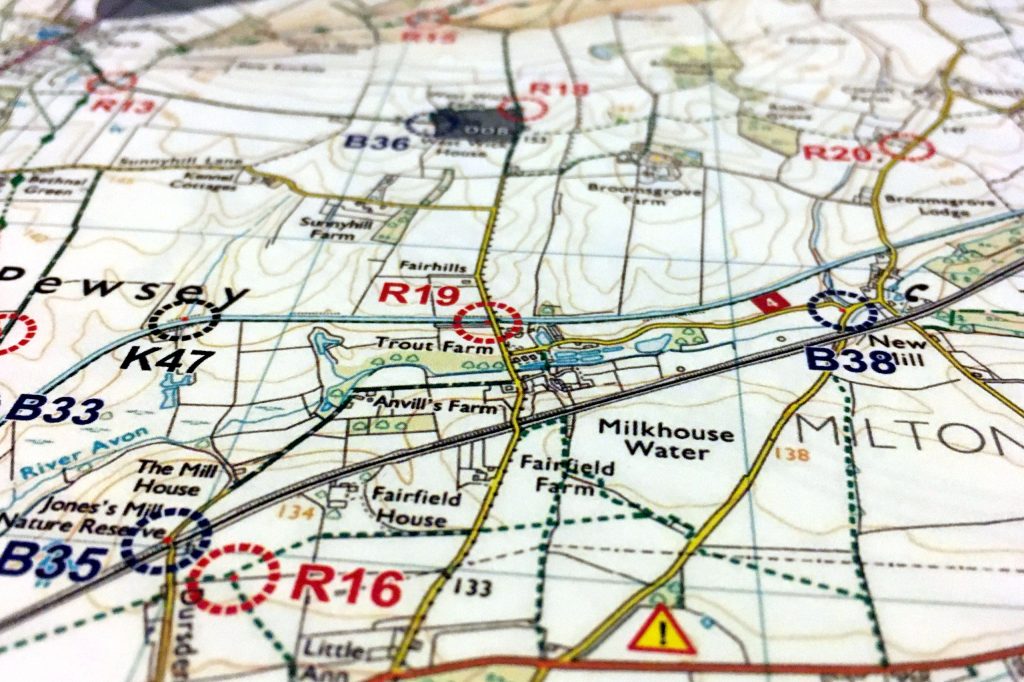
Ordnance Survey (OS) map data is used for the course map, with 1:25,000 OS Explorer map data the data set of choice. Course maps are collected when you arrive at the event on race day. You will be able to look at and study the map before you start so you can familiarise yourself with both the map and the course layout before you begin.
Checkpoints are pre-marked and the course map is printed on tough waterproof paper.
CHECKPOINTS
Different colours and labels are used to identify the run, bike and kayak checkpoints from each other. These are normally marked on the course map as follows:
Trail Run Checkpoints
Red circles on the course map display the location of the trail run checkpoints. The number of each trail run checkpoint is prefixed with the letter R on the map.
Mountain bike Checkpoints
Blue circles on the course map display the location of the mountain bike checkpoints. The number of each bike checkpoint is prefixed with the letter B on the map.
Kayak Checkpoints
Black circles on the course map display the location of the kayak checkpoints. The number of each kayak checkpoint is prefixed with the letter K on the map.
CHECKPOINT VALUES
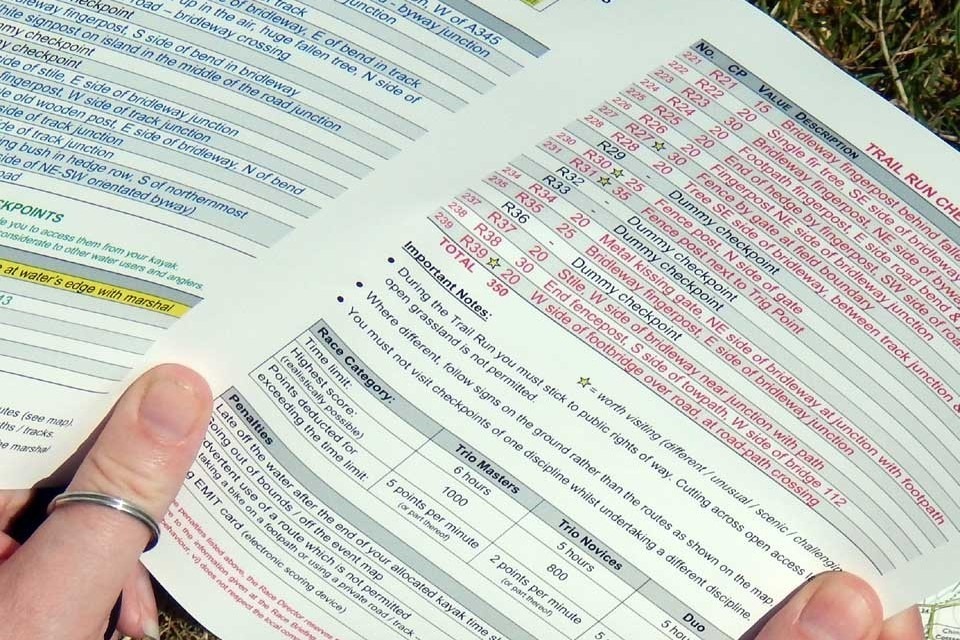
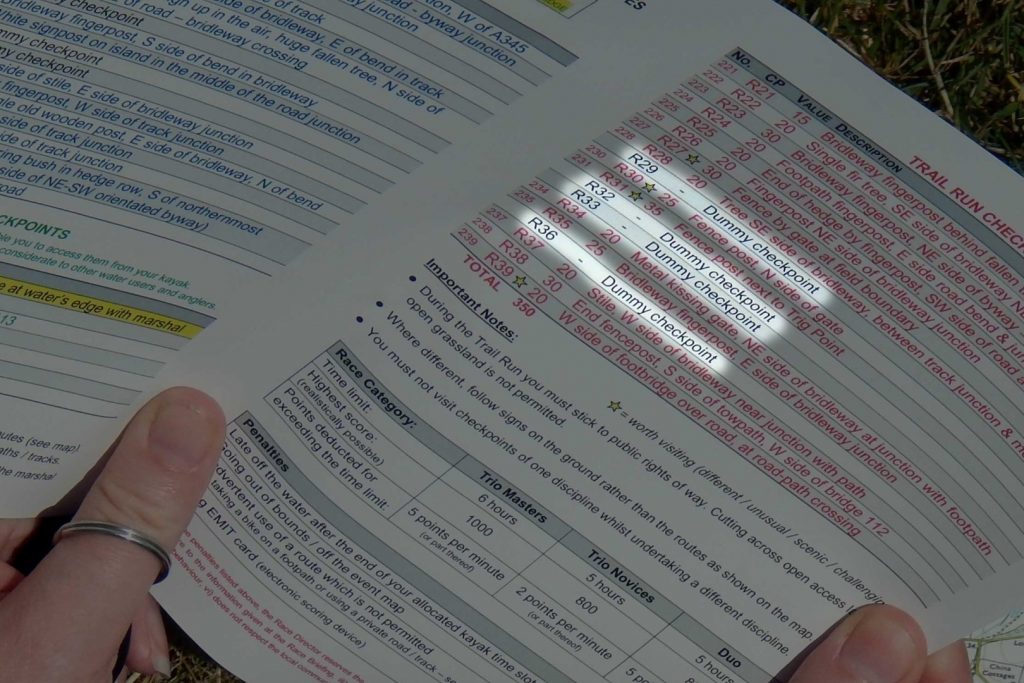
Each checkpoint has a points value. These are given to you on the checkpoint descriptions and values sheet that you collect as you cross the start line (i.e. when your race time begins).
The checkpoints are unmanned so you will need to use the descriptions to locate the electronic control at each checkpoint. This control is what records your visit at each checkpoint and what earns you the points for each checkpoint that you visit.
DUMMY CHECKPOINTS
Just to keep you guessing a little before you actually start, a few of the checkpoints marked on the course map do not exist! These dummy checkpoints have no description or points value.
Which checkpoints are dummy checkpoints will be revealed to you on the checkpoint descriptions and values sheet. So the first thing you’ll want to do when you start is to cross the dummy checkpoints off your map. You don’t want to waste your time by visiting a checkpoint that’s not there!
TRANSITIONS
Designated transitions are marked on the course map. These are the only places where you can change discipline and are marshalled throughout the race.
Usually there are two transitions. A kayak transition where you get on and off the water to kayak and a separate transition point where you switch from run to bike and vice-versa.
The kayak transition is often located remotely out on the course somewhere so you will need to run or cycle to and from it. The transition point is located at the event base.
TRANSITION BOX
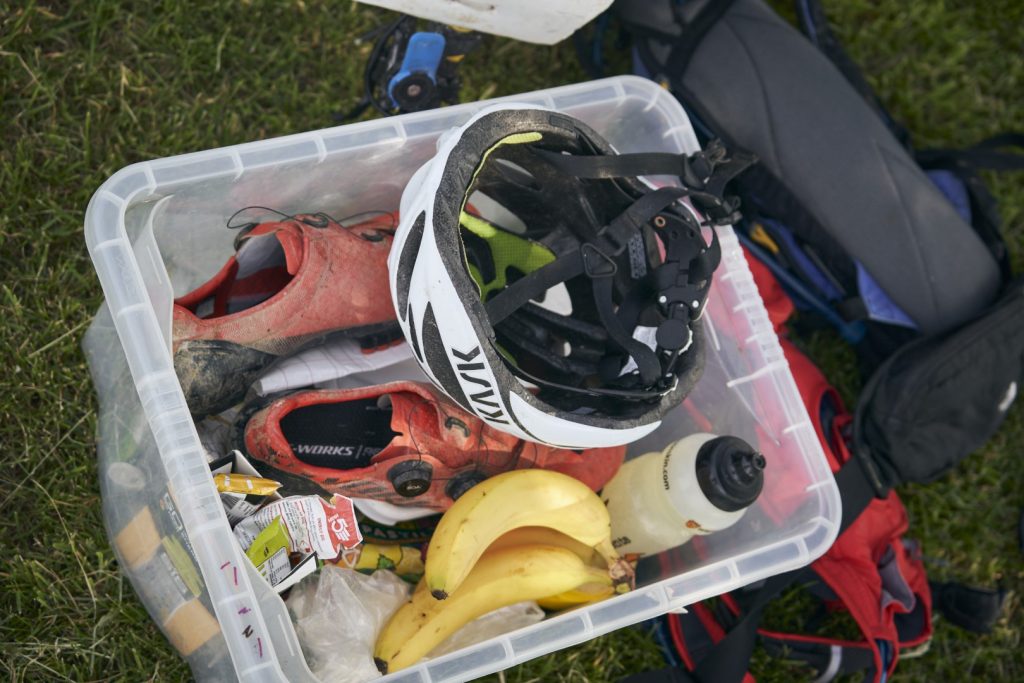
You are able to leave a bag or box at the transition point with spare clothing, spare food, etc. The transition points are often open to the elements so it is recommended that a waterproof container is used.
KAYAKING
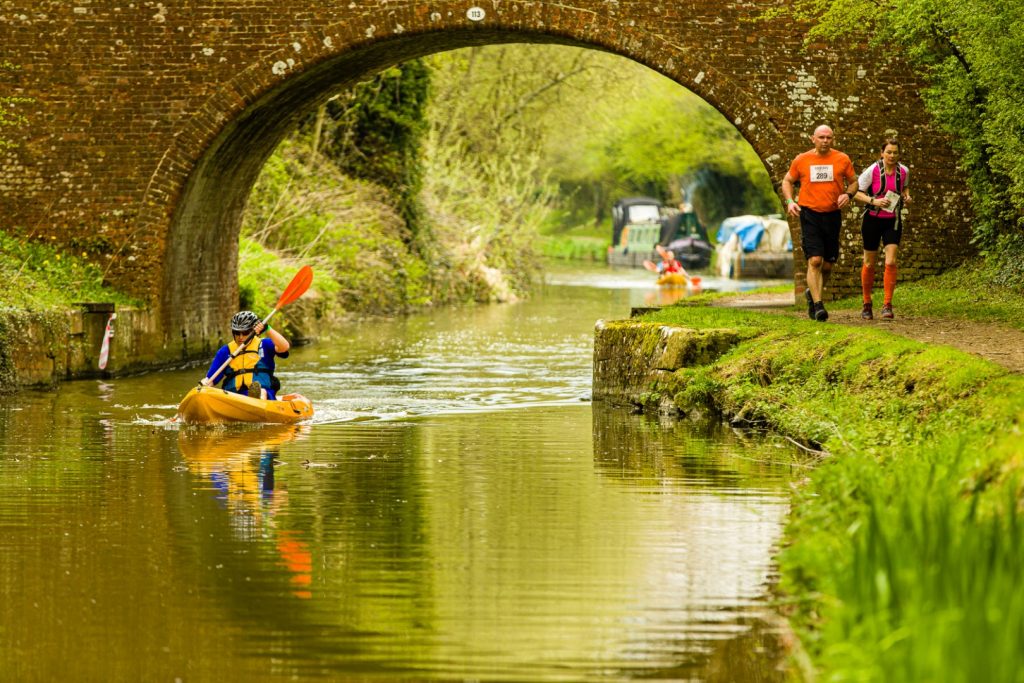
You will be allocated a kayak time slot if you select the option to kayak when you enter.
Your kayak time slot will be published on the start list in the week leading up to the event. This time slot is the only time during which you may visit the kayak checkpoints. You do not have to use all this time. You can start kayaking any time within your allocated time slot, but you must be off the water before the end of your time slot.
Failure to do so has a knock on effect in terms of the smooth running of the event for everyone else and therefore incurs a hefty penalty.
STRATEGY
If you opt to kayak, you will need to fit in your running and biking around your kayak time slot. You can do this by breaking either your trail run or mountain biking to do the kayaking.
TIME LIMIT
The time limit is between two and six hours depending on which event you enter. You do not need to use all this time; you can finish whenever you want before you reach the time limit.
If you go over the time limit then you will start to lose points. These penalty points accumulate very rapidly so it’s best to err on the side of caution and allow sufficient time to get back to the finish before you reach the time limit.
